
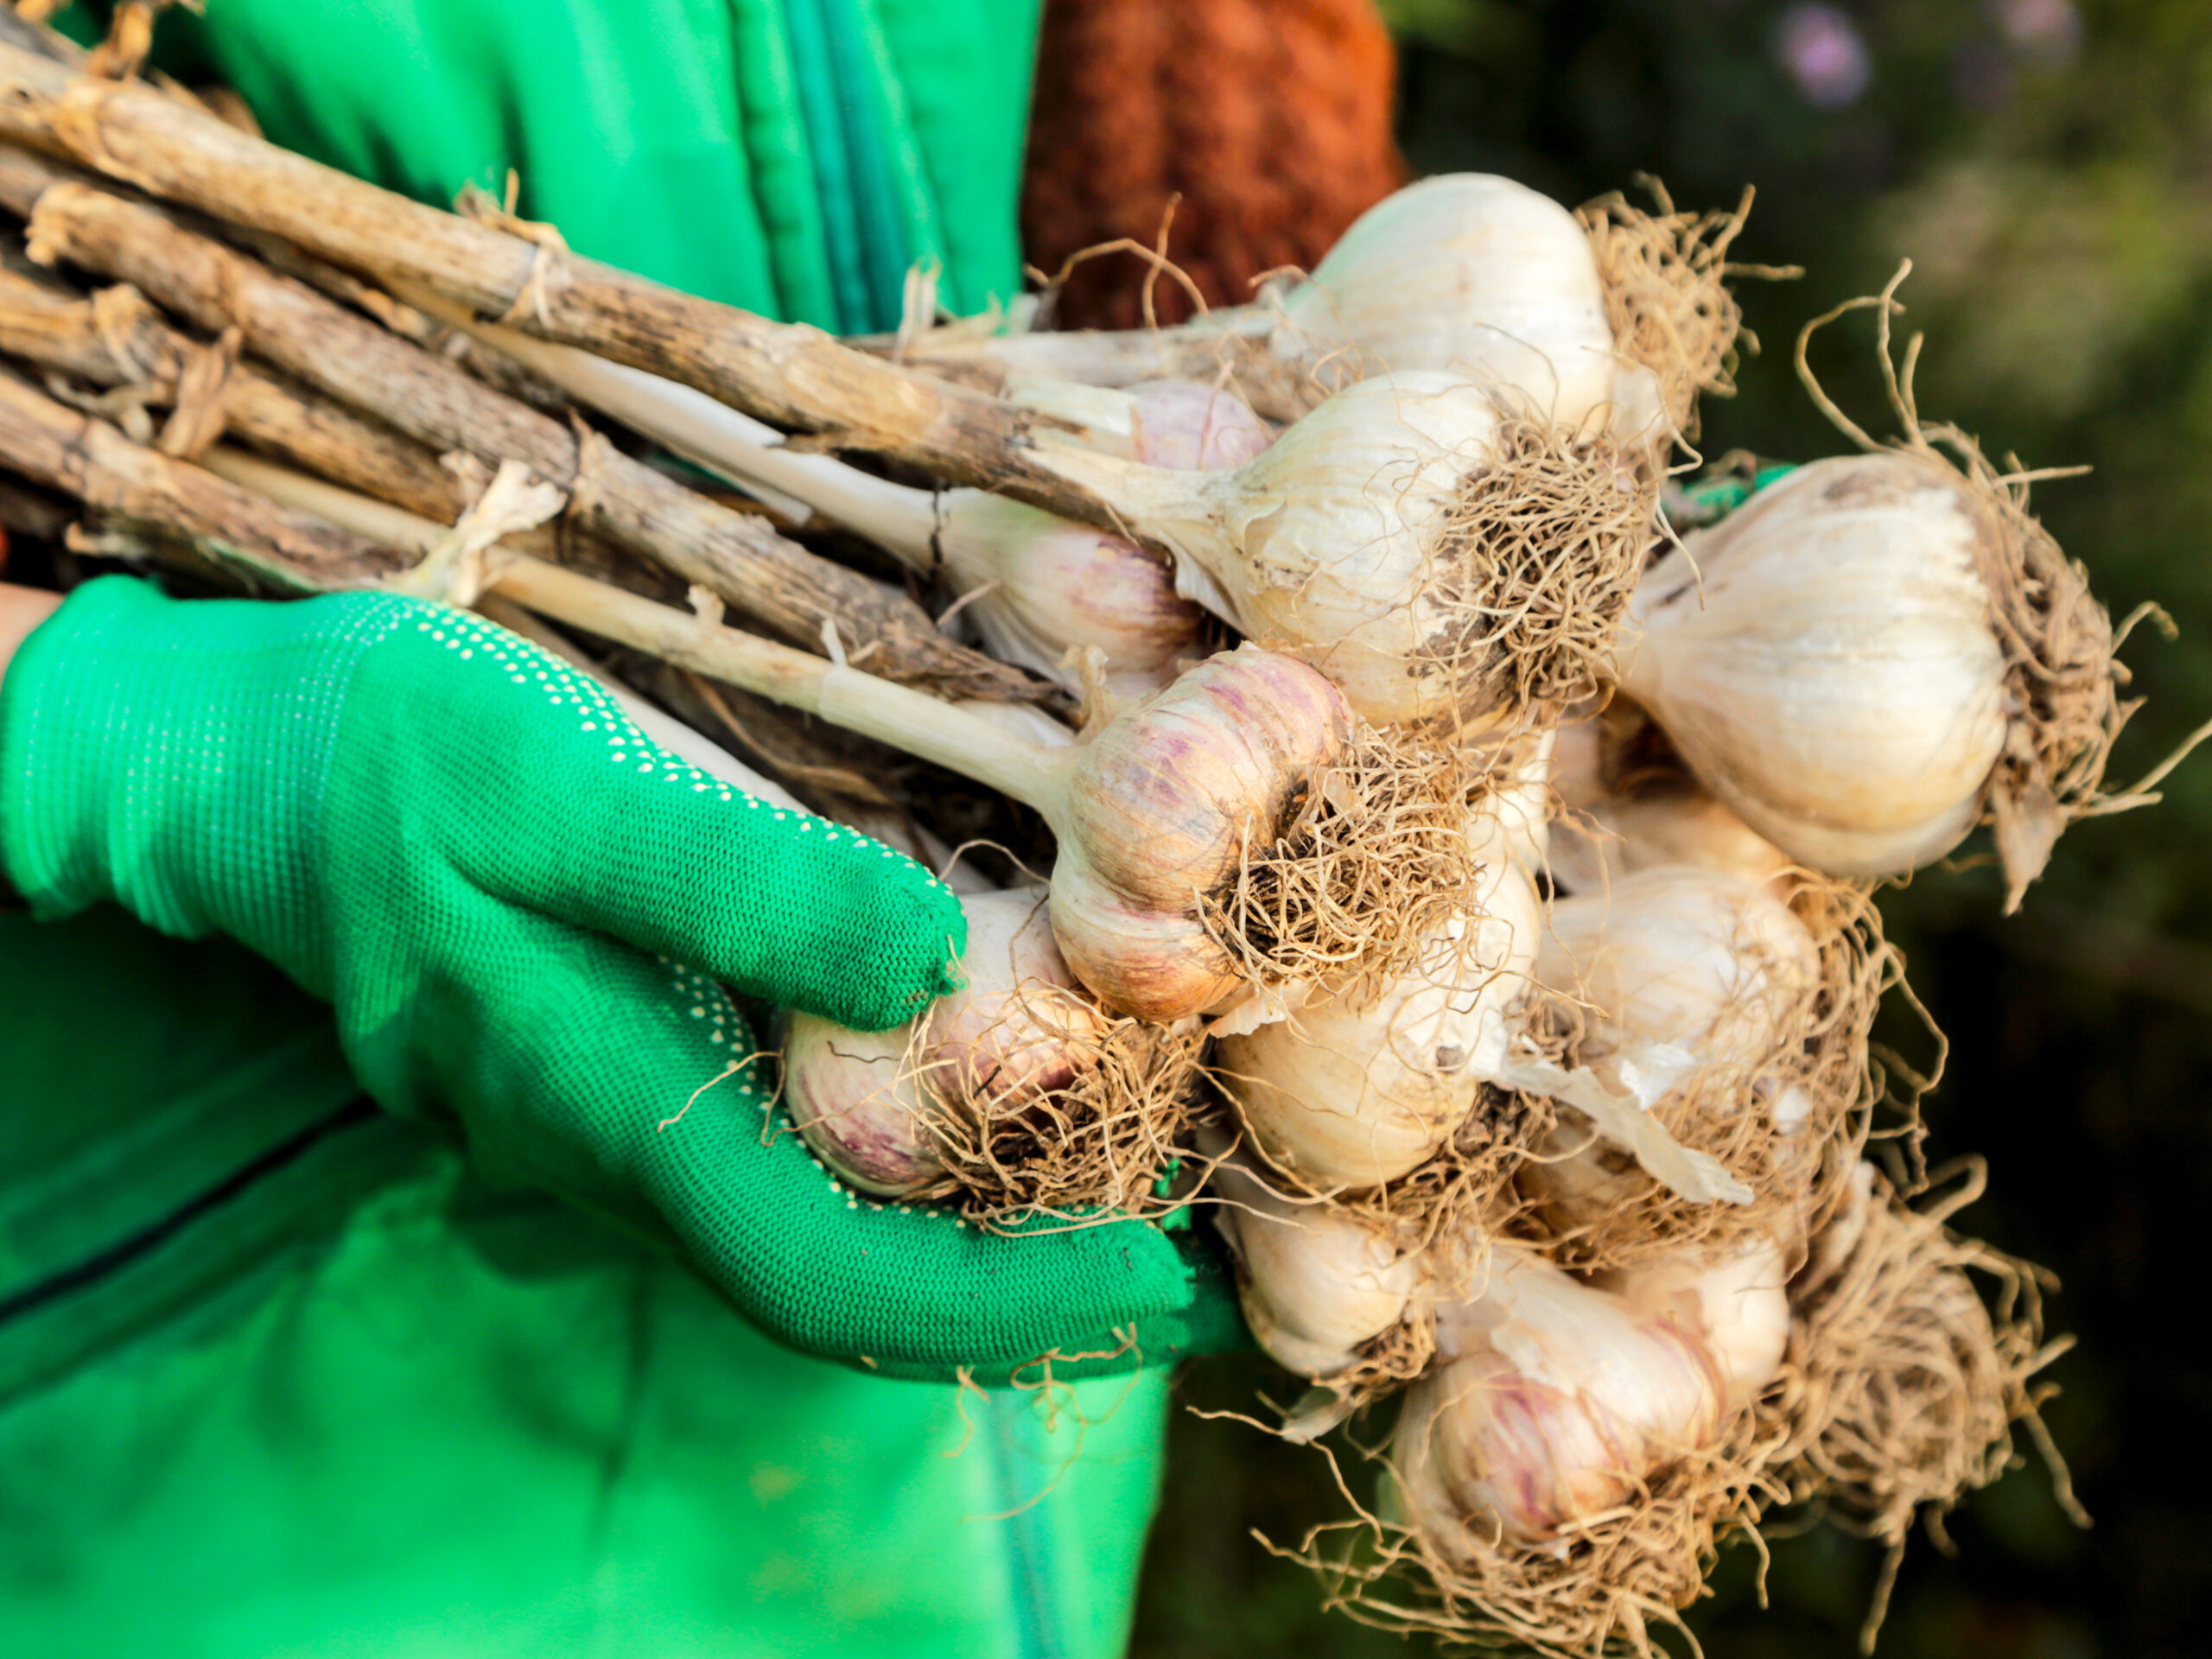
Planting Hardneck Garlic
Hardneck garlic is not only SO EASY to plant, but did you know that you can get 2 harvests
from your planting? The scapes can be harvested as well as the bulb and are tender and
delicious! They can be used in all kinds of dishes (from pesto to stir fries). Removing the
scapes are also beneficial to the garlic because it prevents the plant from putting energy into producing flowers but rather redirects the energy into the underground bulb. While flavors vary a bit, the bulbs when harvested have a wonderful pungent flavor that you won’t find in the grocery store. This makes it a double winner, and a great investment!
Garlic is a great crop for busy gardeners, as once planted… you can literally forget about it until the following spring. In the spring when you are opening up your gardens, you can simply add some additional mulch to keep it weed free & help retain moisture. You will notice it sprouting up in the early spring and it will reach maturity by the middle of the summer.
What is Hardneck Garlic?
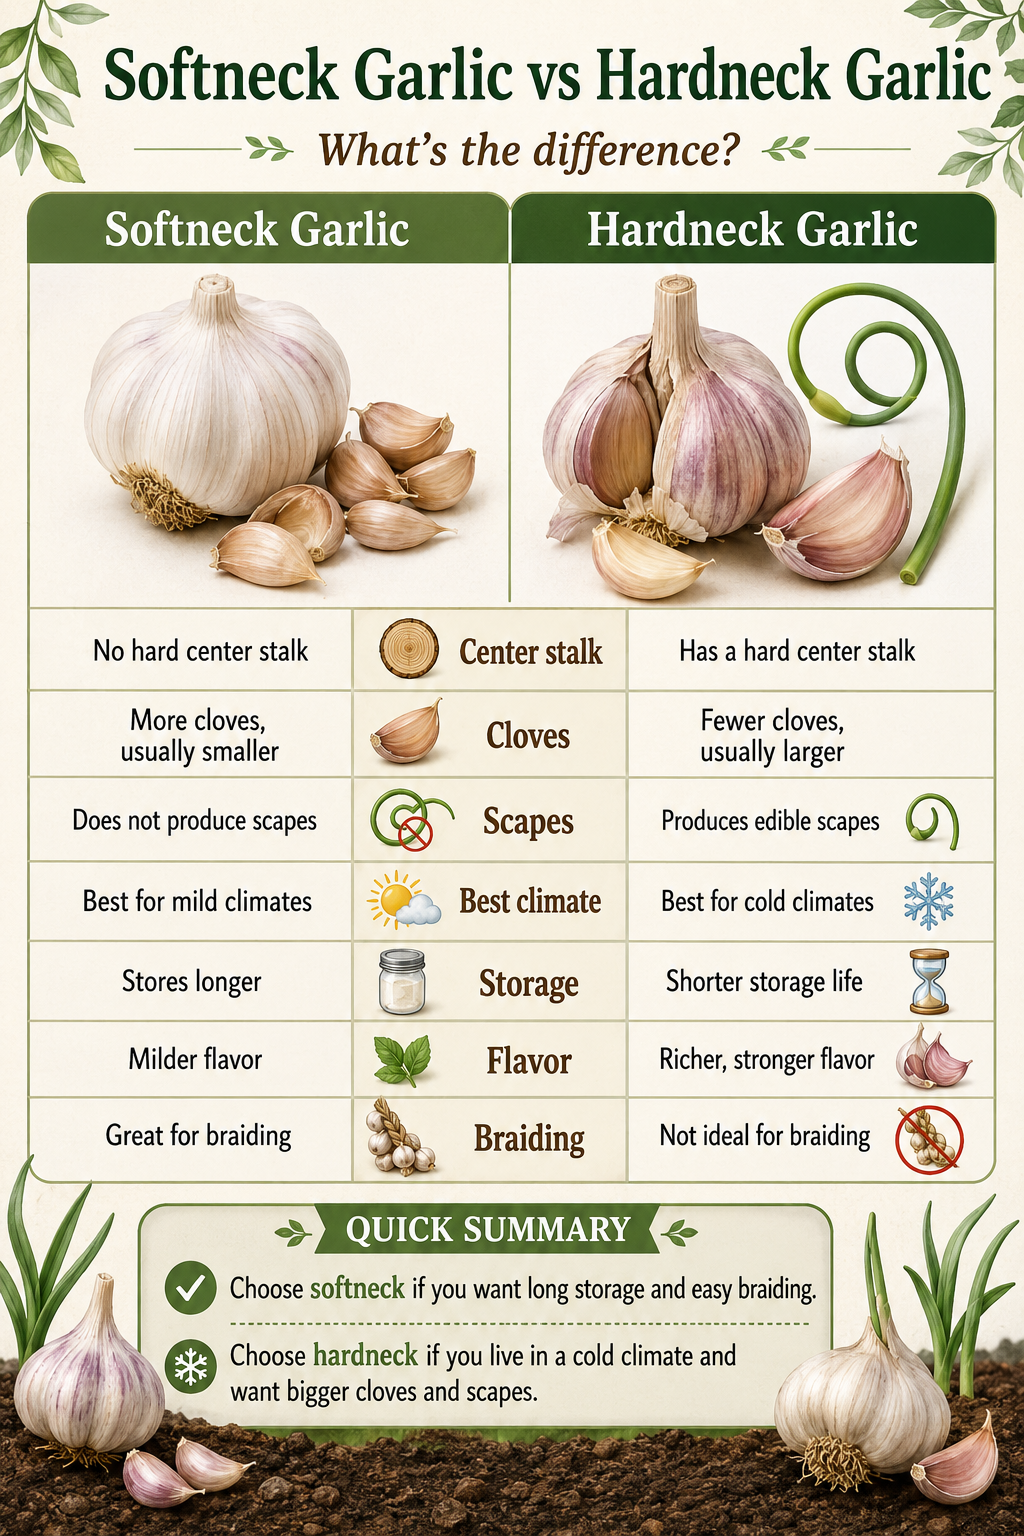
Hardneck garlic (Allium sativum ophioscorodon) is called “hardneck” because it sends up a rigid flowering stalk, or scape, from the center of the plant. It typically has fewer but larger cloves per bulb and offers wonderful flavor varieties. Hardneck garlic is cold-hardy and grows best in regions with cold winters.
Why I Chose hardneck garlic: What’s the difference?
How to plant your hardneck garlic in 7 easy steps
- Planting Time: Aim for mid to late fall (typically October through November depending on your zone) after the first hard fall frost, but while the soil is still workable.
- Select Your Cloves: Break bulbs apart into individual cloves and keep the papery skin intact on each clove
- Where to Plant: Find a spot with full sun & well draining soil amended with compost.
- Spacing: Space cloves 4-6 inches apart in rows. Be sure to give room for the cloves to mature and grow.
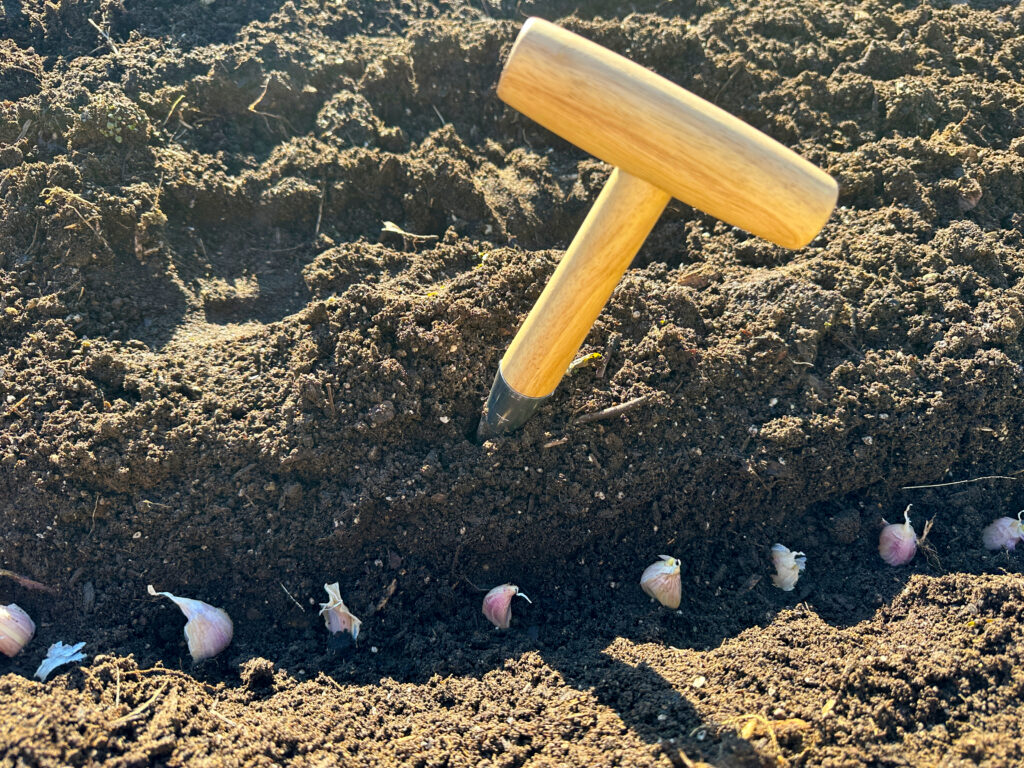
- Depth & Orientation: Using your dibber or trowel, create a hole 2-3” deep and plant your clove pointy side up, flat bottom down. Cover the cloves with soil. *You can also create a 3” deep trench if planting in rows.
- Aftercare: Water the bed thoroughly after planting. Cover the bed with a 2-3 inch layer of straw or leaf mulch to insulate the cloves through the winter.
- Forget About It Until Spring: Your garlic will wake up in the springtime, when you can
apply a fresh layer of mulch. Treat it like you would your other vegetable crops by keeping it
weed free and giving it consistent moisture.
Pro Tip
A good rule of thumb is to plant 4-6 weeks before your first frost date.
Harvesting Your Garlic
Hardneck garlic is usually ready to harvest in early to mid-summer (depending on where you live) when the lower leaves turn brown but the top leaves are still partly green.
1. Scapes
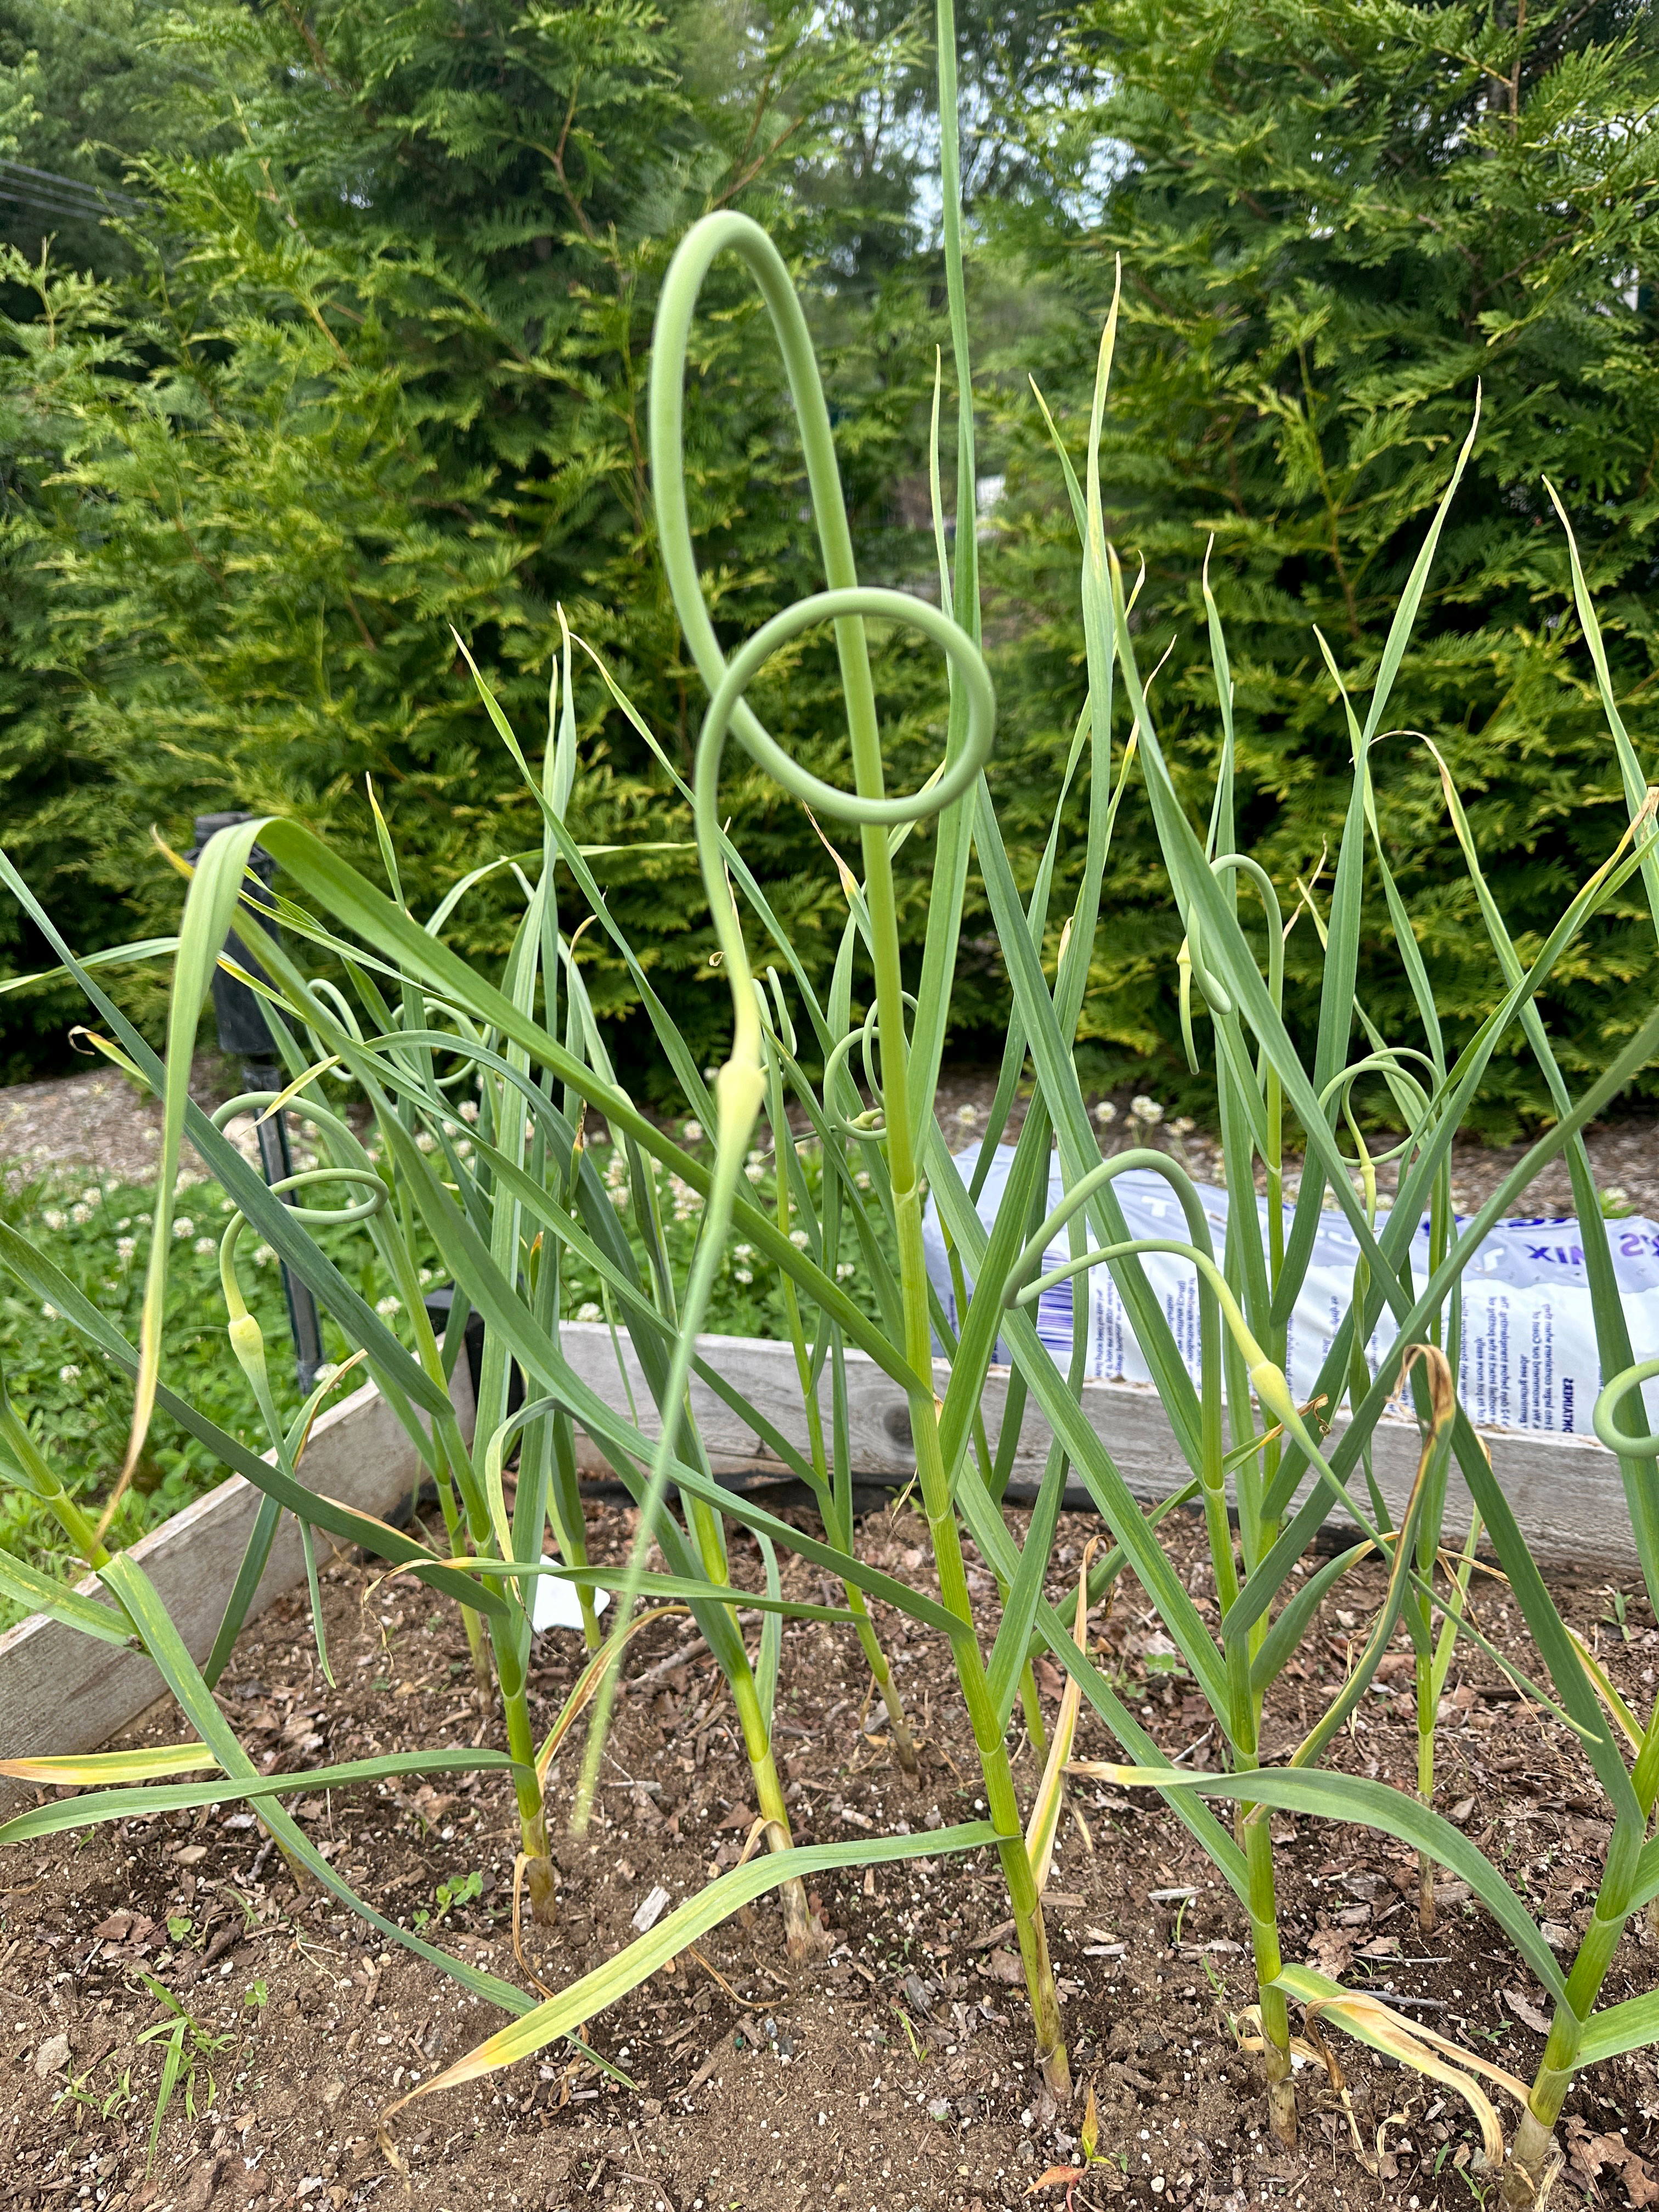
Early summer is the time to harvest the scapes when you start to see them curl (they make
curly loops usually resembling a P).
2. Bulbs
Mid-summer carefully dig the bulbs, cure in a dry, shady, well-ventilated place for 2–3 weeks, then trim and store.
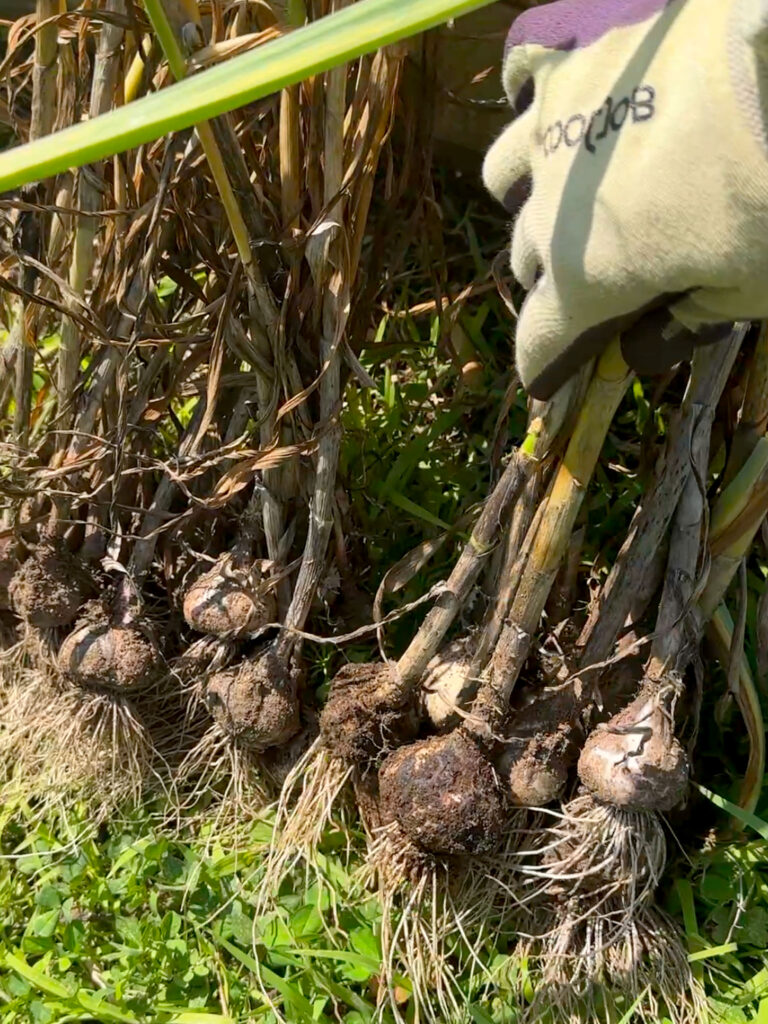
It is so gratifying to grow & harvest your own food and know exactly where it came from!
The most common mistake is planting at the wrong time (spring instead of fall). Hardneck garlic needs a cold winter period to trigger proper bulb development. When planted in spring, it usually results in smaller garlic cloves which can be very disappointing! The correct time to plant hardneck garlic is in the fall, about 4-6 weeks before the ground freezes. And…. if you want to keep your garlic investment going, simply save some of your garlic cloves for another fall planting!
